



If you already run Drizzle Studio or Drizzle Gateway on Railway, follow Add private access to Drizzle Studio, Gateway or a database on Railway with Tailscale instead.
Deploy Drizzle Studio or Gateway on Railway with private access over Tailscale
Deploy Drizzle Studio or Drizzle Gateway on Railway so that it’s reachable only on your tailnet.
This guide assumes the following:
-
You have a Railway account.
-
You have a Tailscale account.
-
You have the Tailscale client installed on the machine you work from, and that machine is signed in to your tailnet. You can find the downloads on the Tailscale website.
-
MagicDNS is on in your tailnet, because the address and the machine name depend on it. Tailnets created on or after 2022-10-20 have it on by default. If your tailnet is older, check the DNS page.
How it works
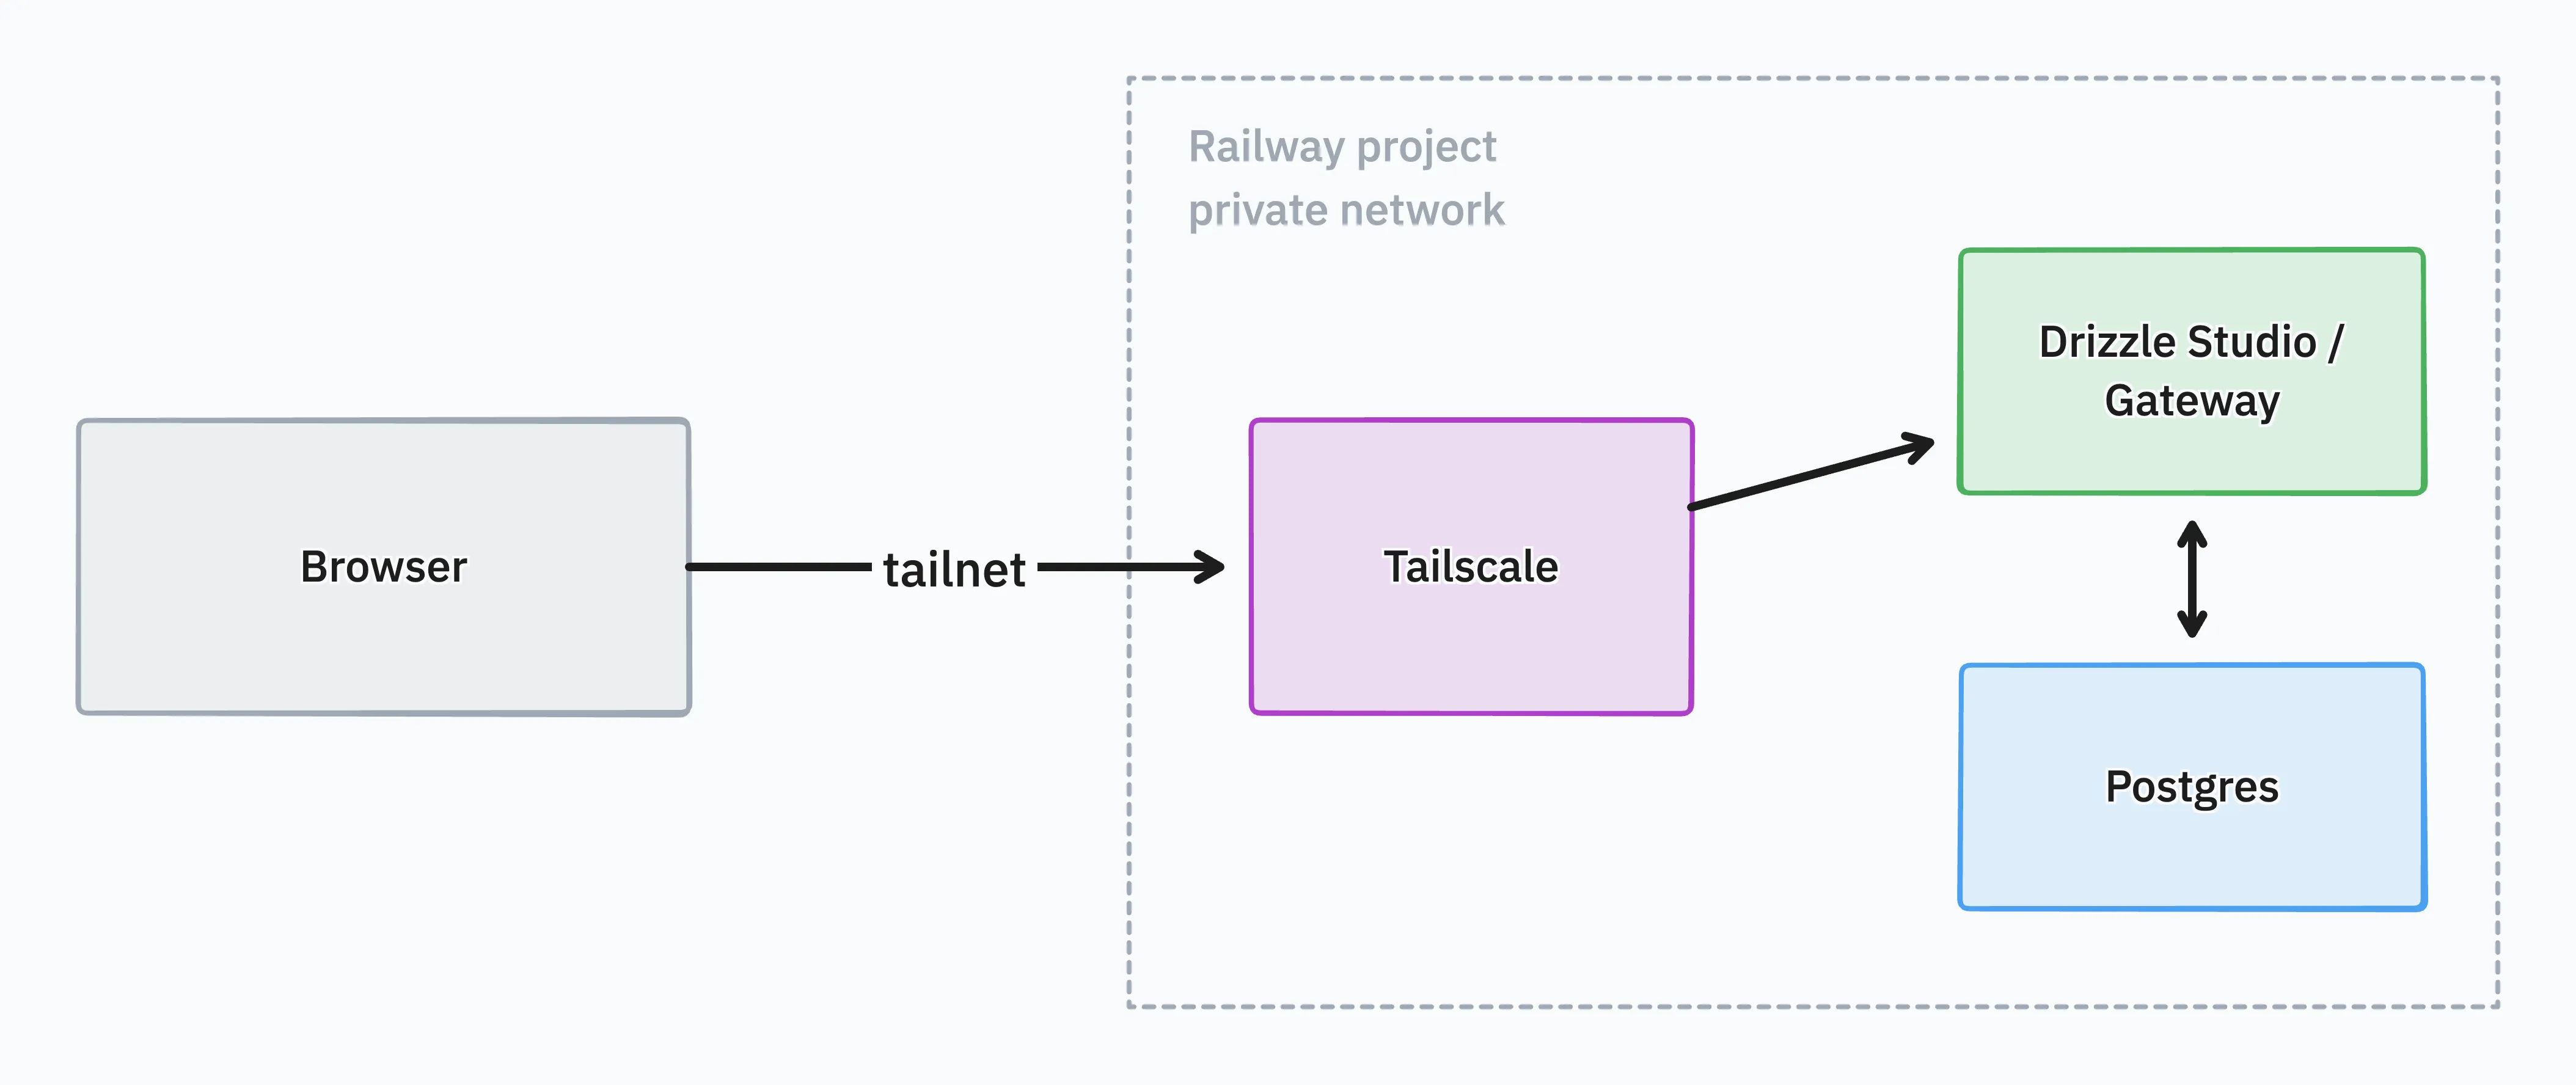
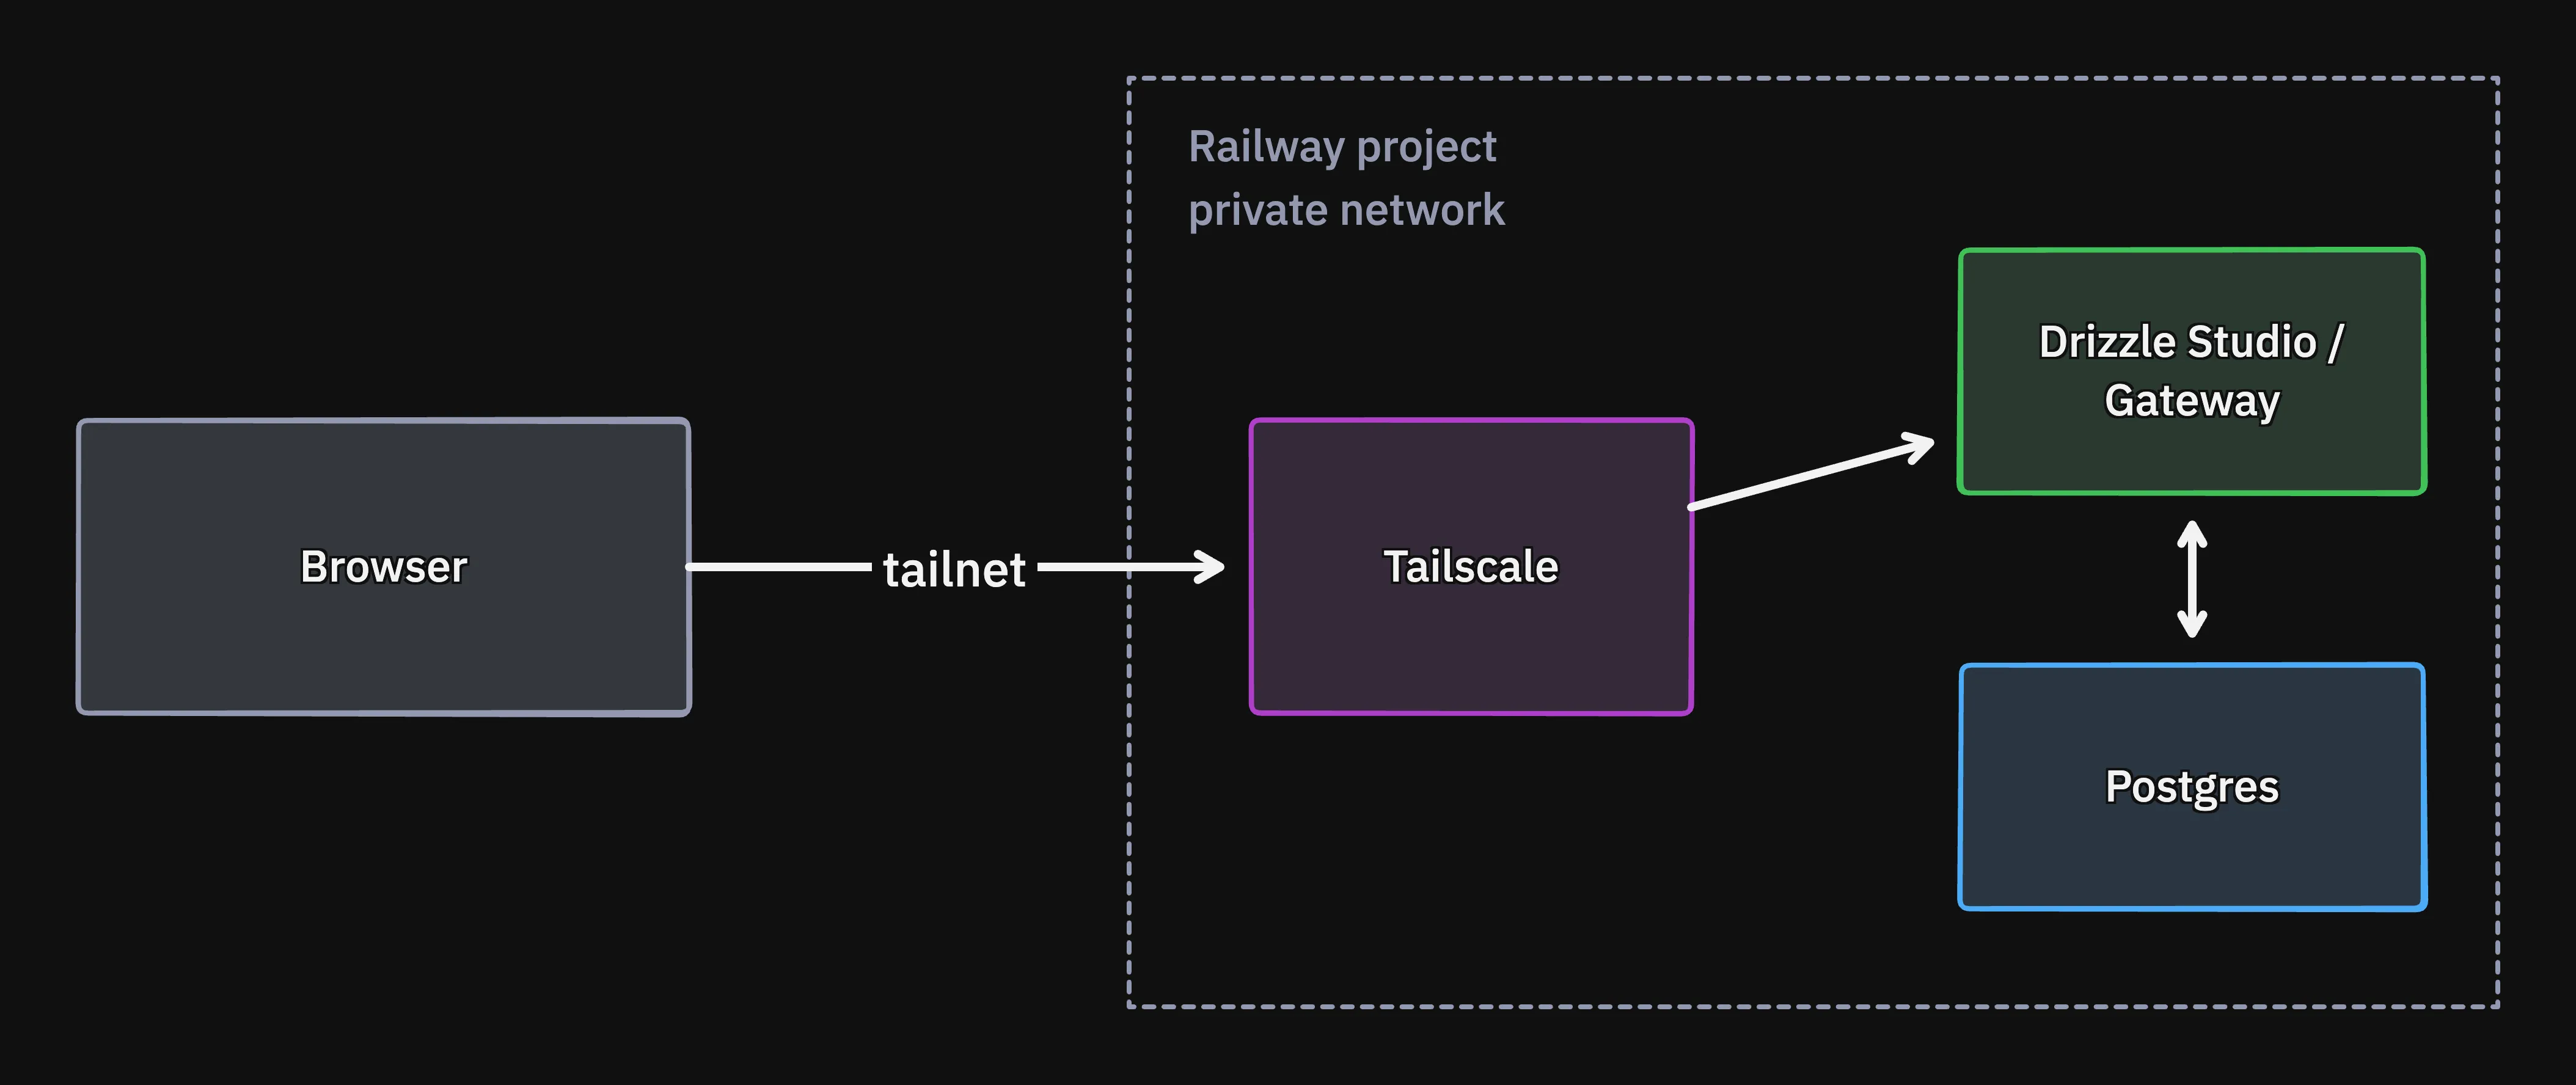
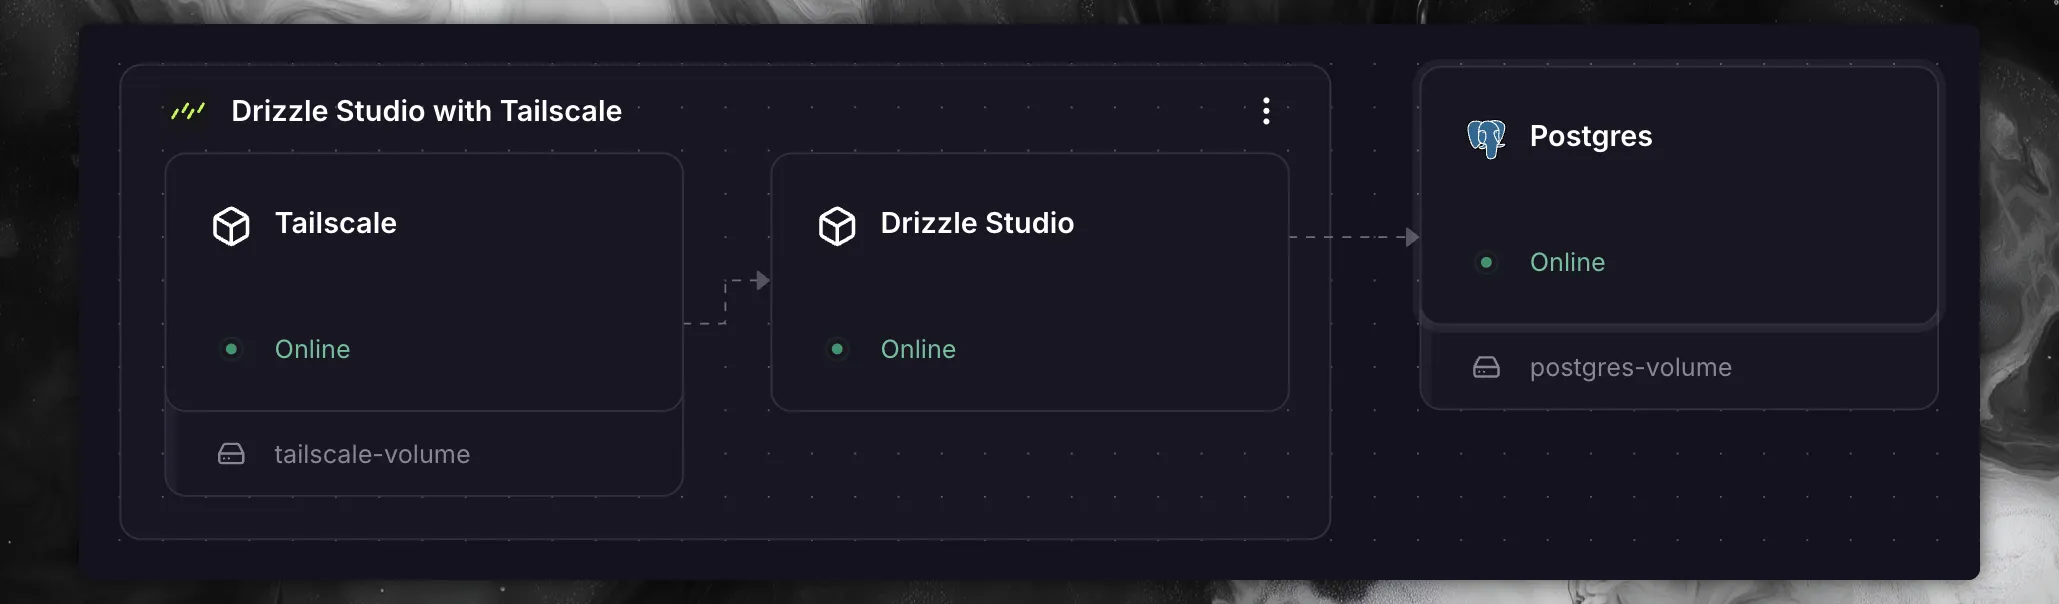
The template creates two services. One runs the database UI, either Drizzle Studio or Drizzle Gateway. Next to it runs a Tailscale service that joins your tailnet as its own machine and forwards its port to the database UI over Railway’s private network. Traffic goes from your device over the tailnet to that machine, and from there to the database UI.
The database UI reaches your database over Railway’s private network. The database keeps its *.railway.internal domain and stays unreachable from anywhere else.
Set up the Railway project
Create a project with a PostgreSQL database that has no public access. If your project already has a database, skip to Choose Gateway or Studio.
Create a Railway project
Log in to your Railway dashboard and click the New Project button.
Provision a PostgreSQL database
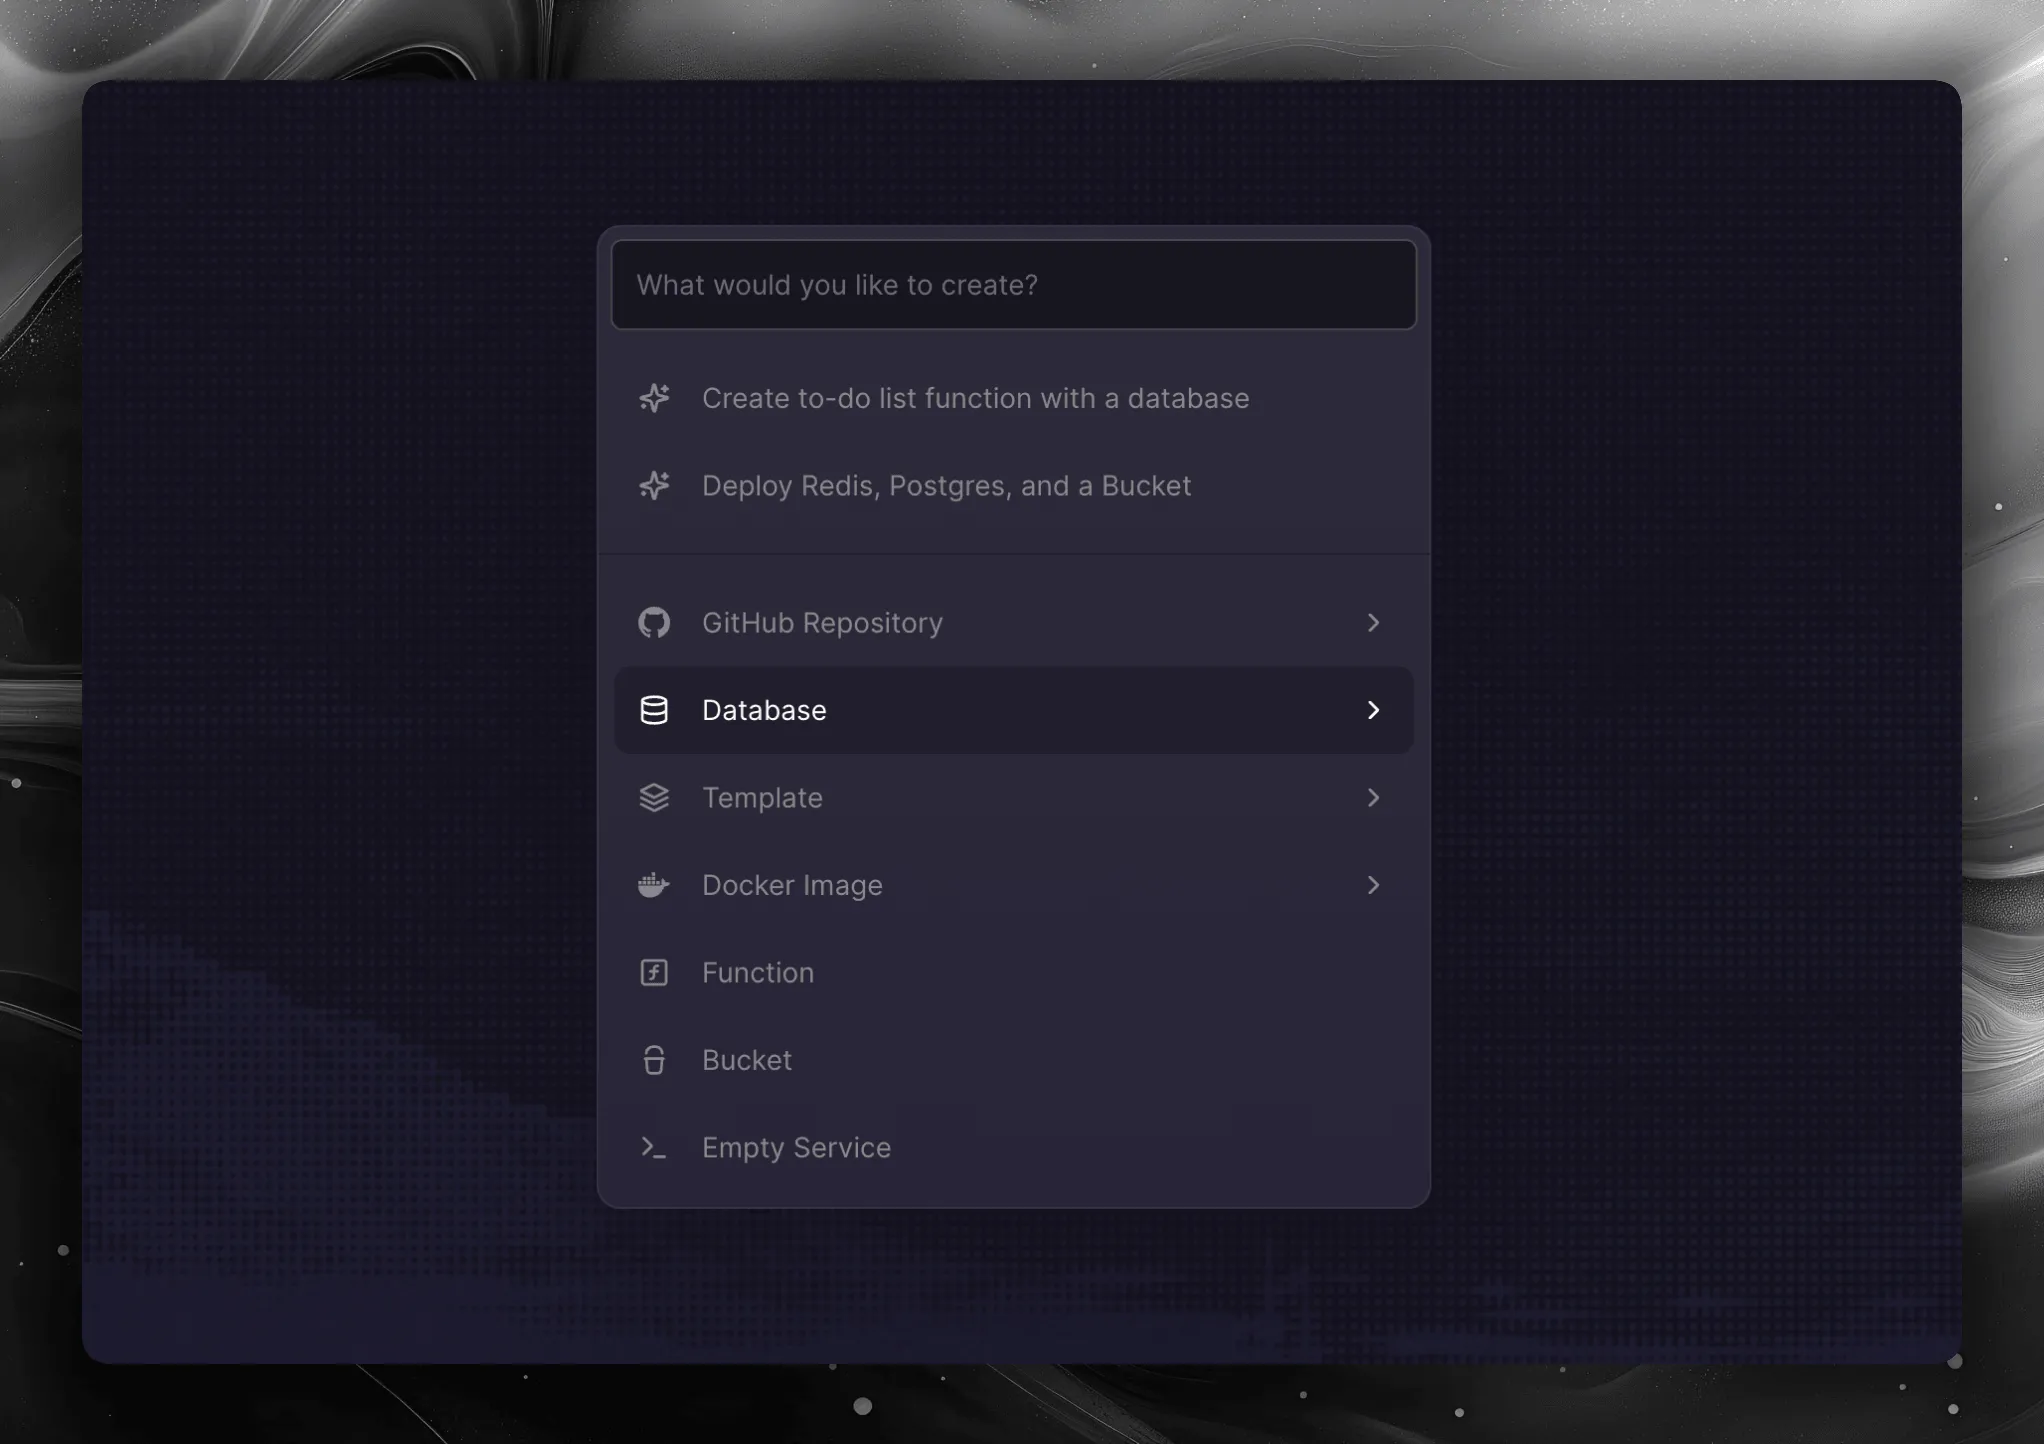
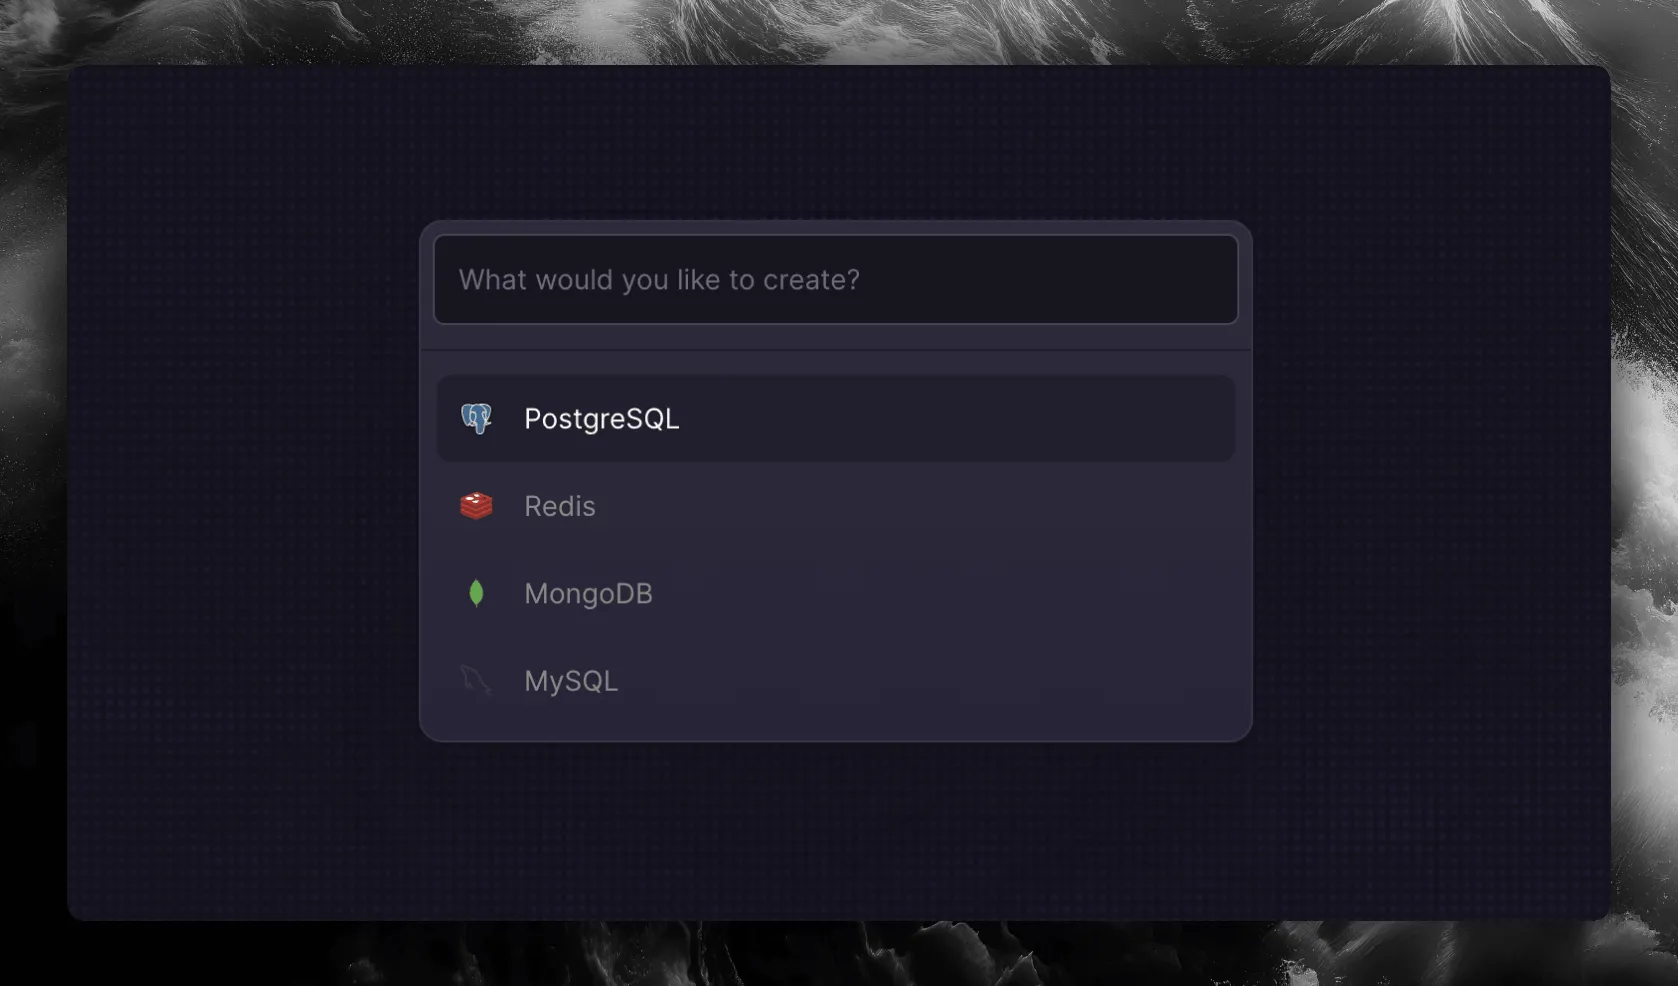
On the project canvas, click the New button in the top right corner and select Database → PostgreSQL. You can also use the command palette ( ⌘K CtrlK ) and search for PostgreSQL.
Keep the database on the private network
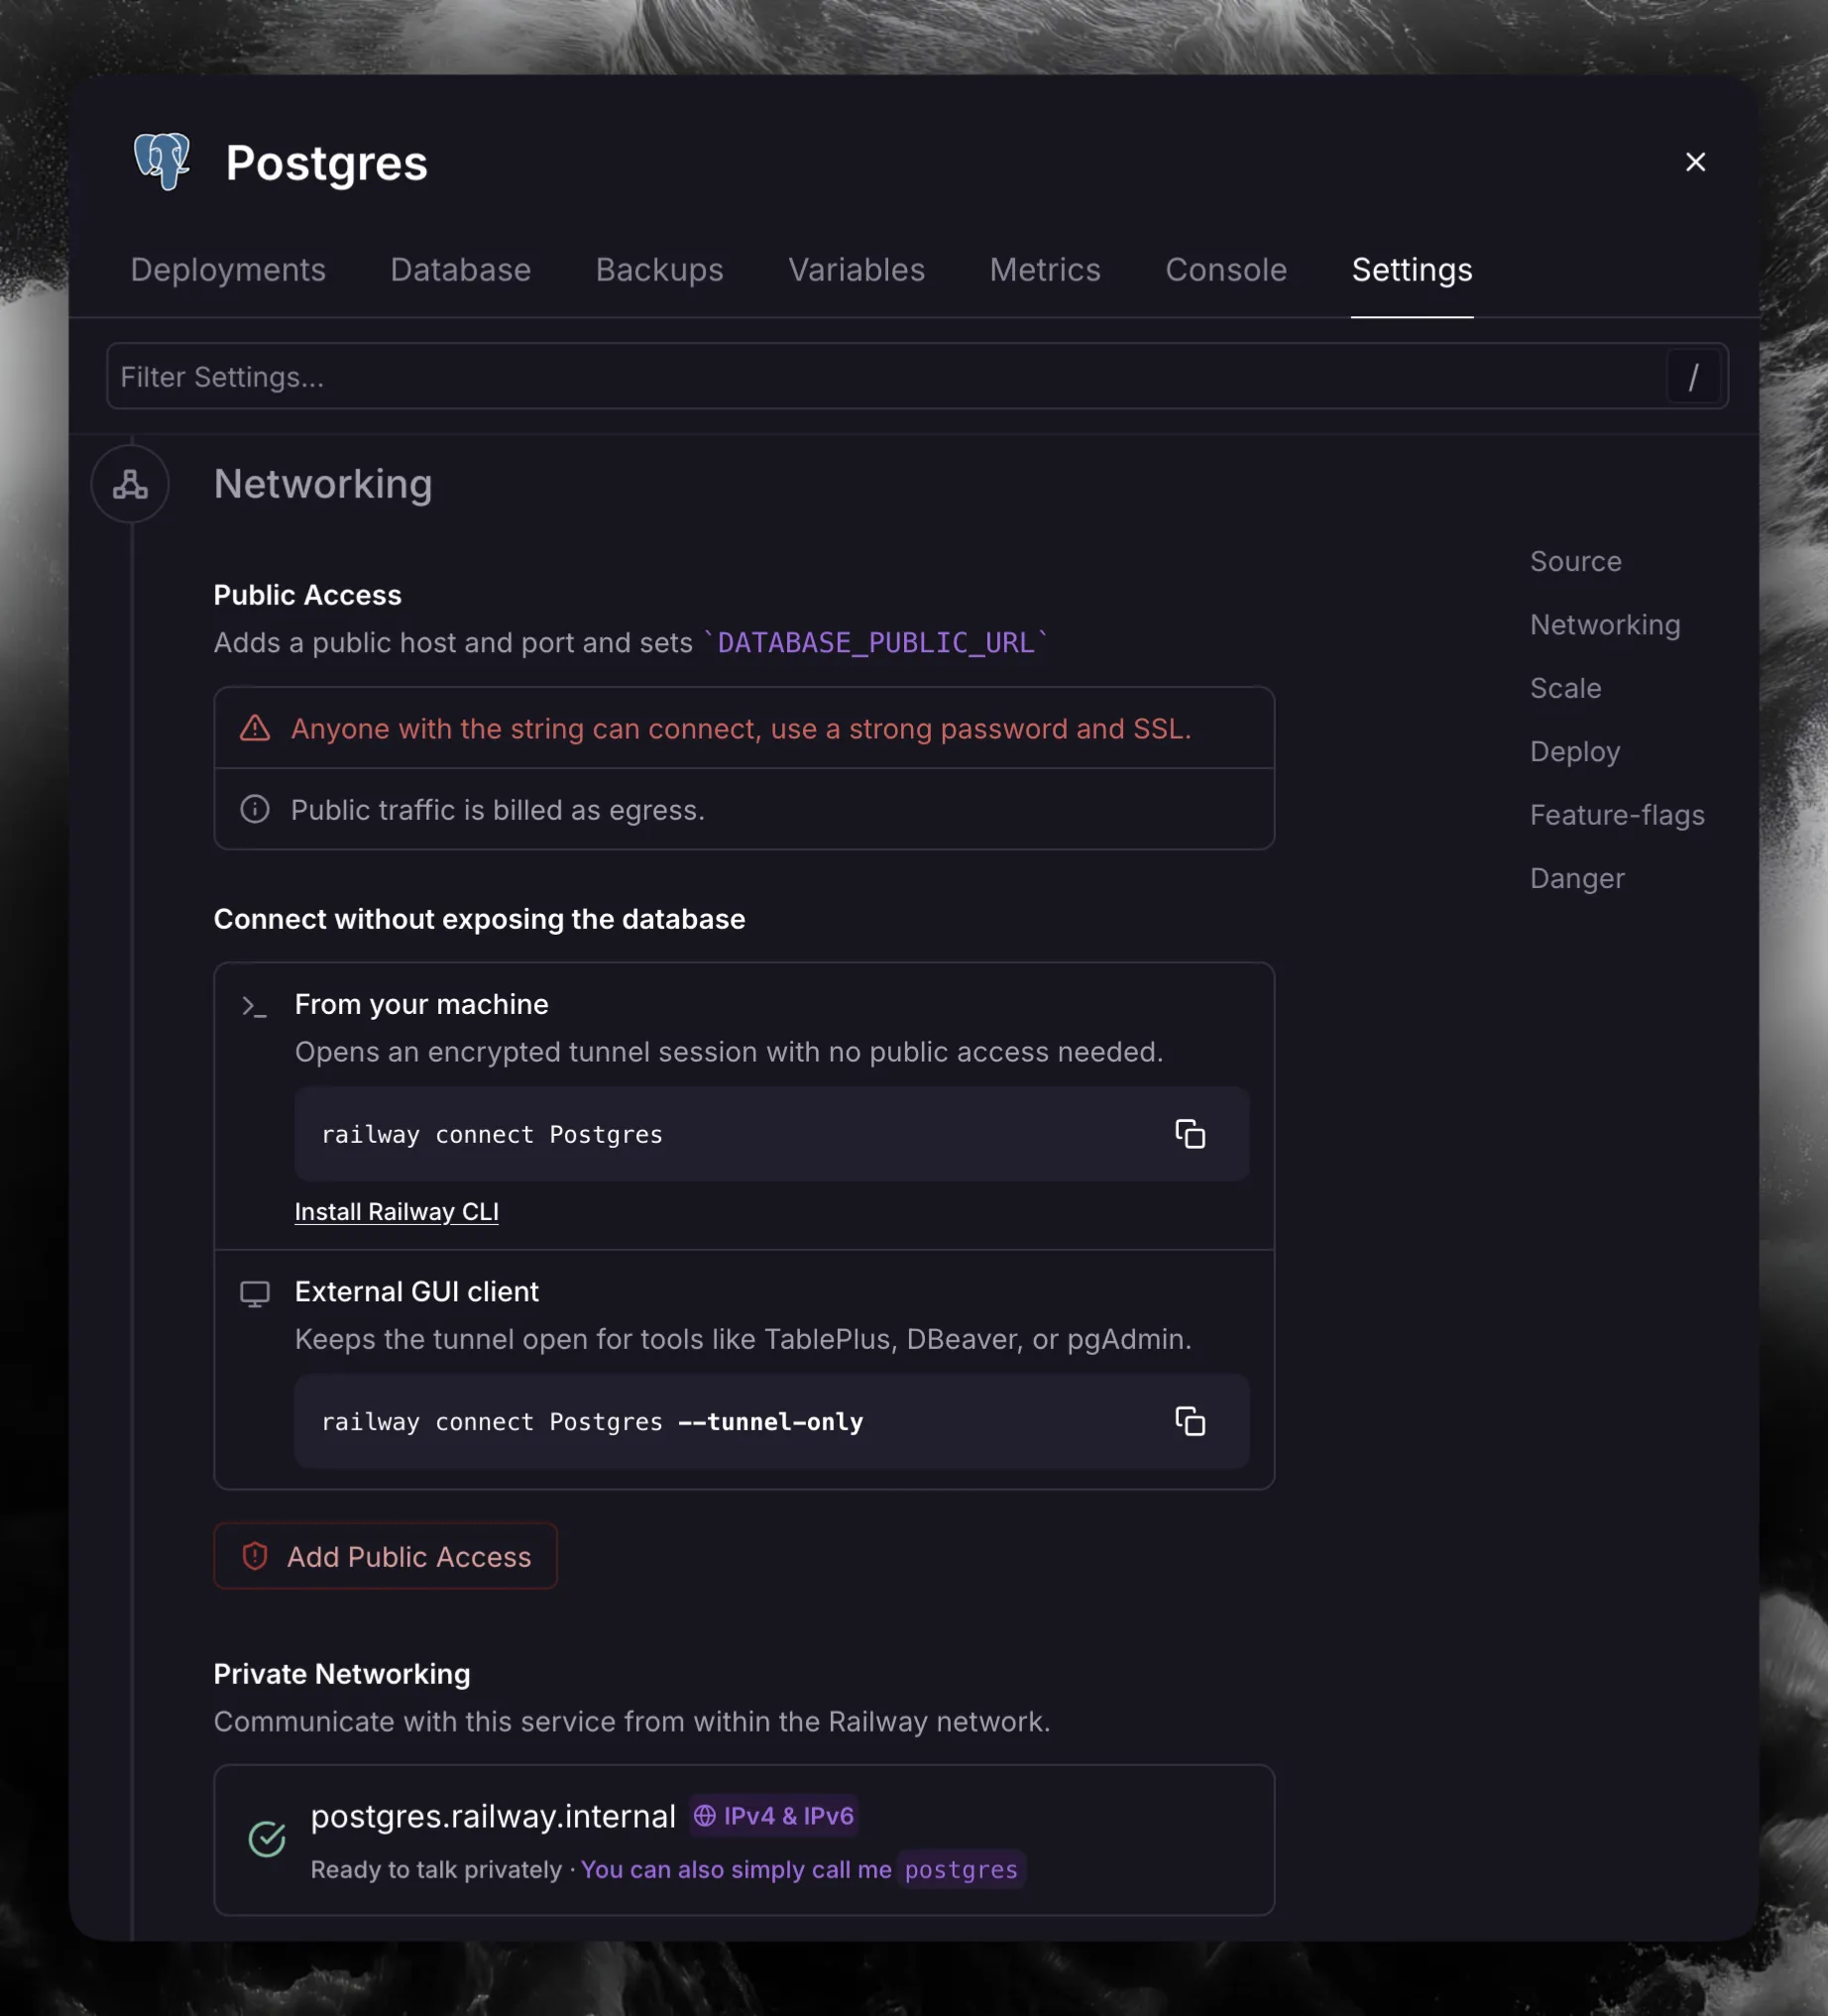
Click on the PostgreSQL service, go to the Settings tab, and find the Networking section. Verify that public access is disabled. Under Private Networking you will see the private domain of the service, for example postgres.railway.internal.
Choose Gateway or Studio
Drizzle has two database UIs, and a Tailscale template for each.
| Drizzle Studio | Drizzle Gateway | |
|---|---|---|
| Databases | One, fixed to the DATABASE_URL you set in Railway | Many, you add and edit them in the UI |
| Access | PASSCODE generated by the template | MASTERPASS, plus passcodes you give to other people |
| Storage | None | A volume holding saved connections |
Pick Drizzle Studio when everyone on your tailnet should reach a single database and nothing else.
Pick Drizzle Gateway when you need to manage several databases, or give specific people access to specific databases. A Gateway user who knows MASTERPASS can add a connection to any database the service can reach.
Open the template
Press the button below to open the Drizzle Studio with Tailscale template.
Don’t deploy it right away. Set the variables first.

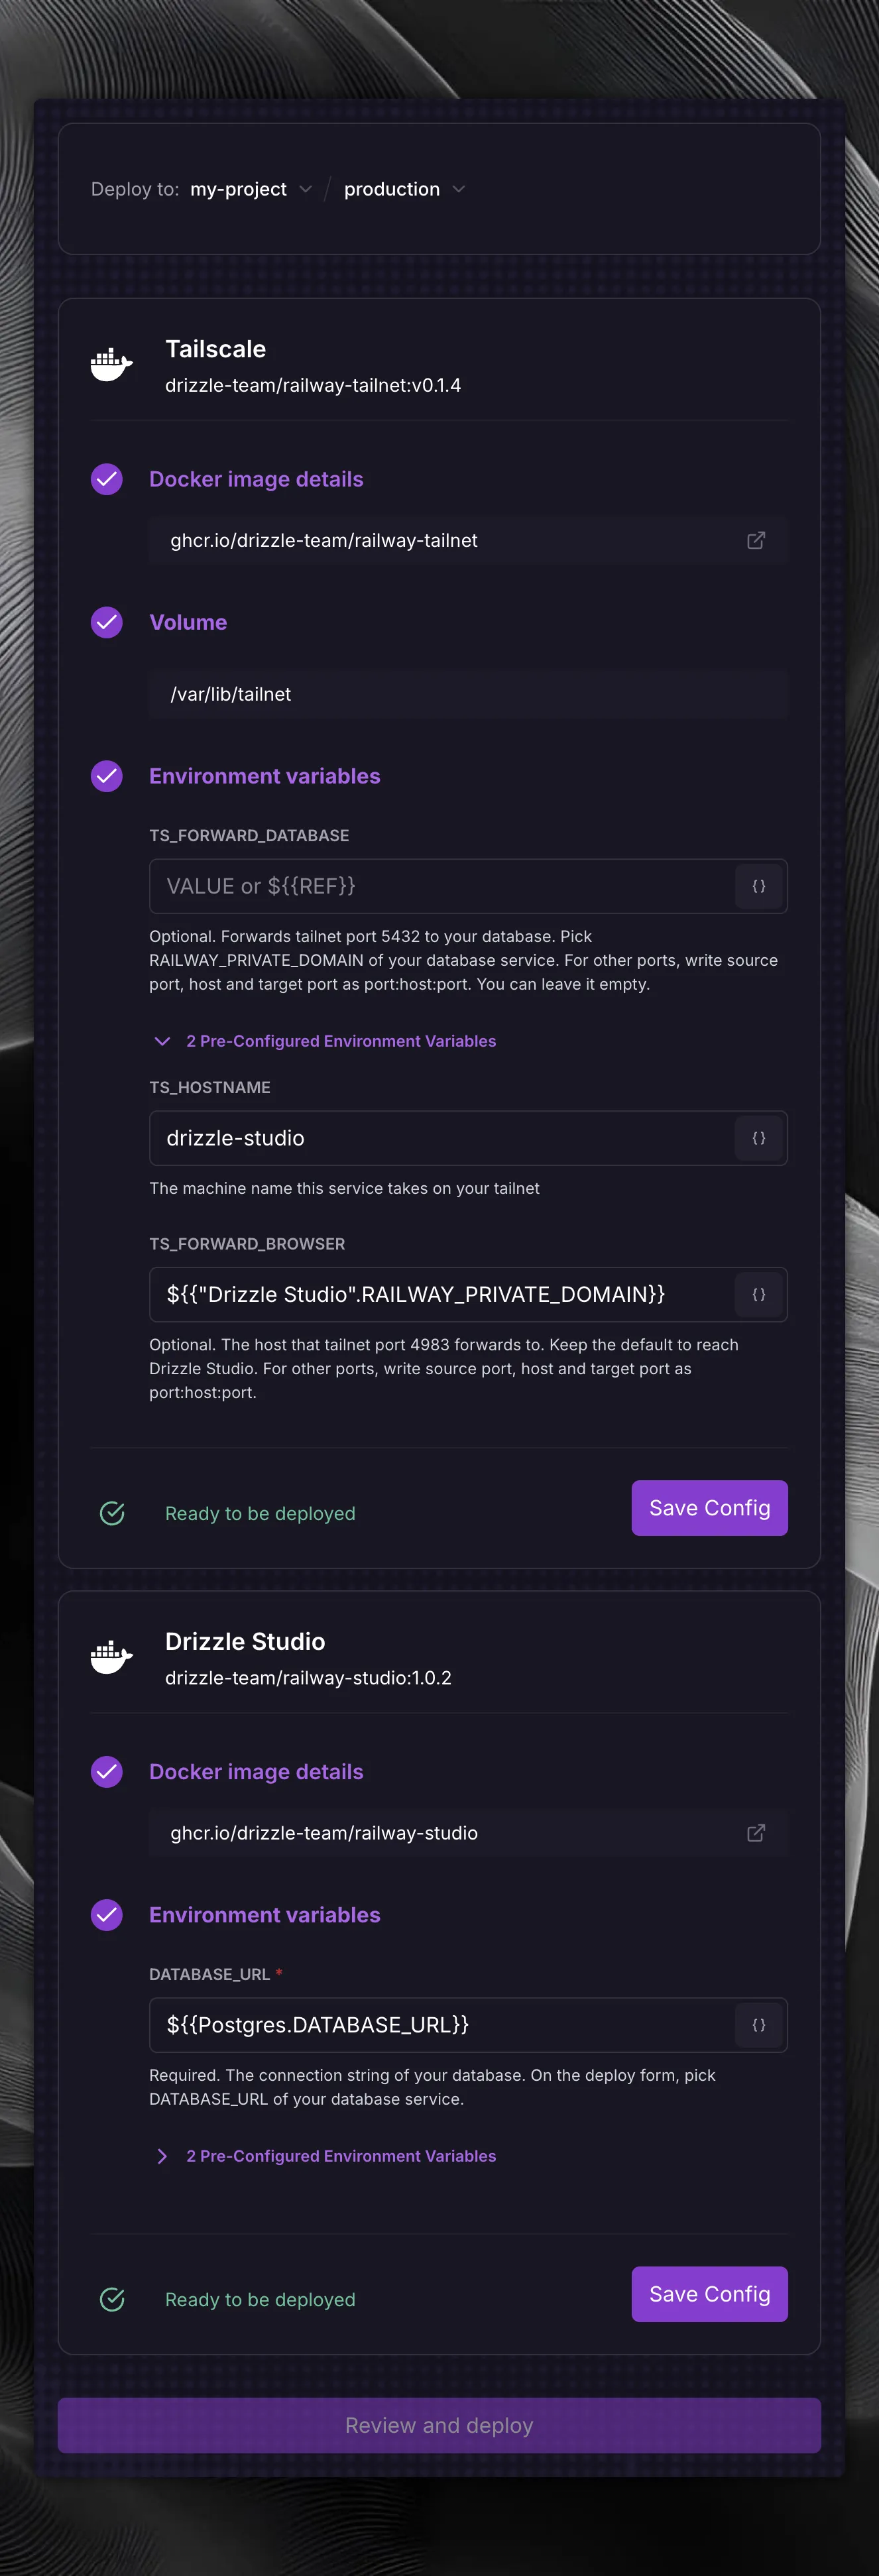
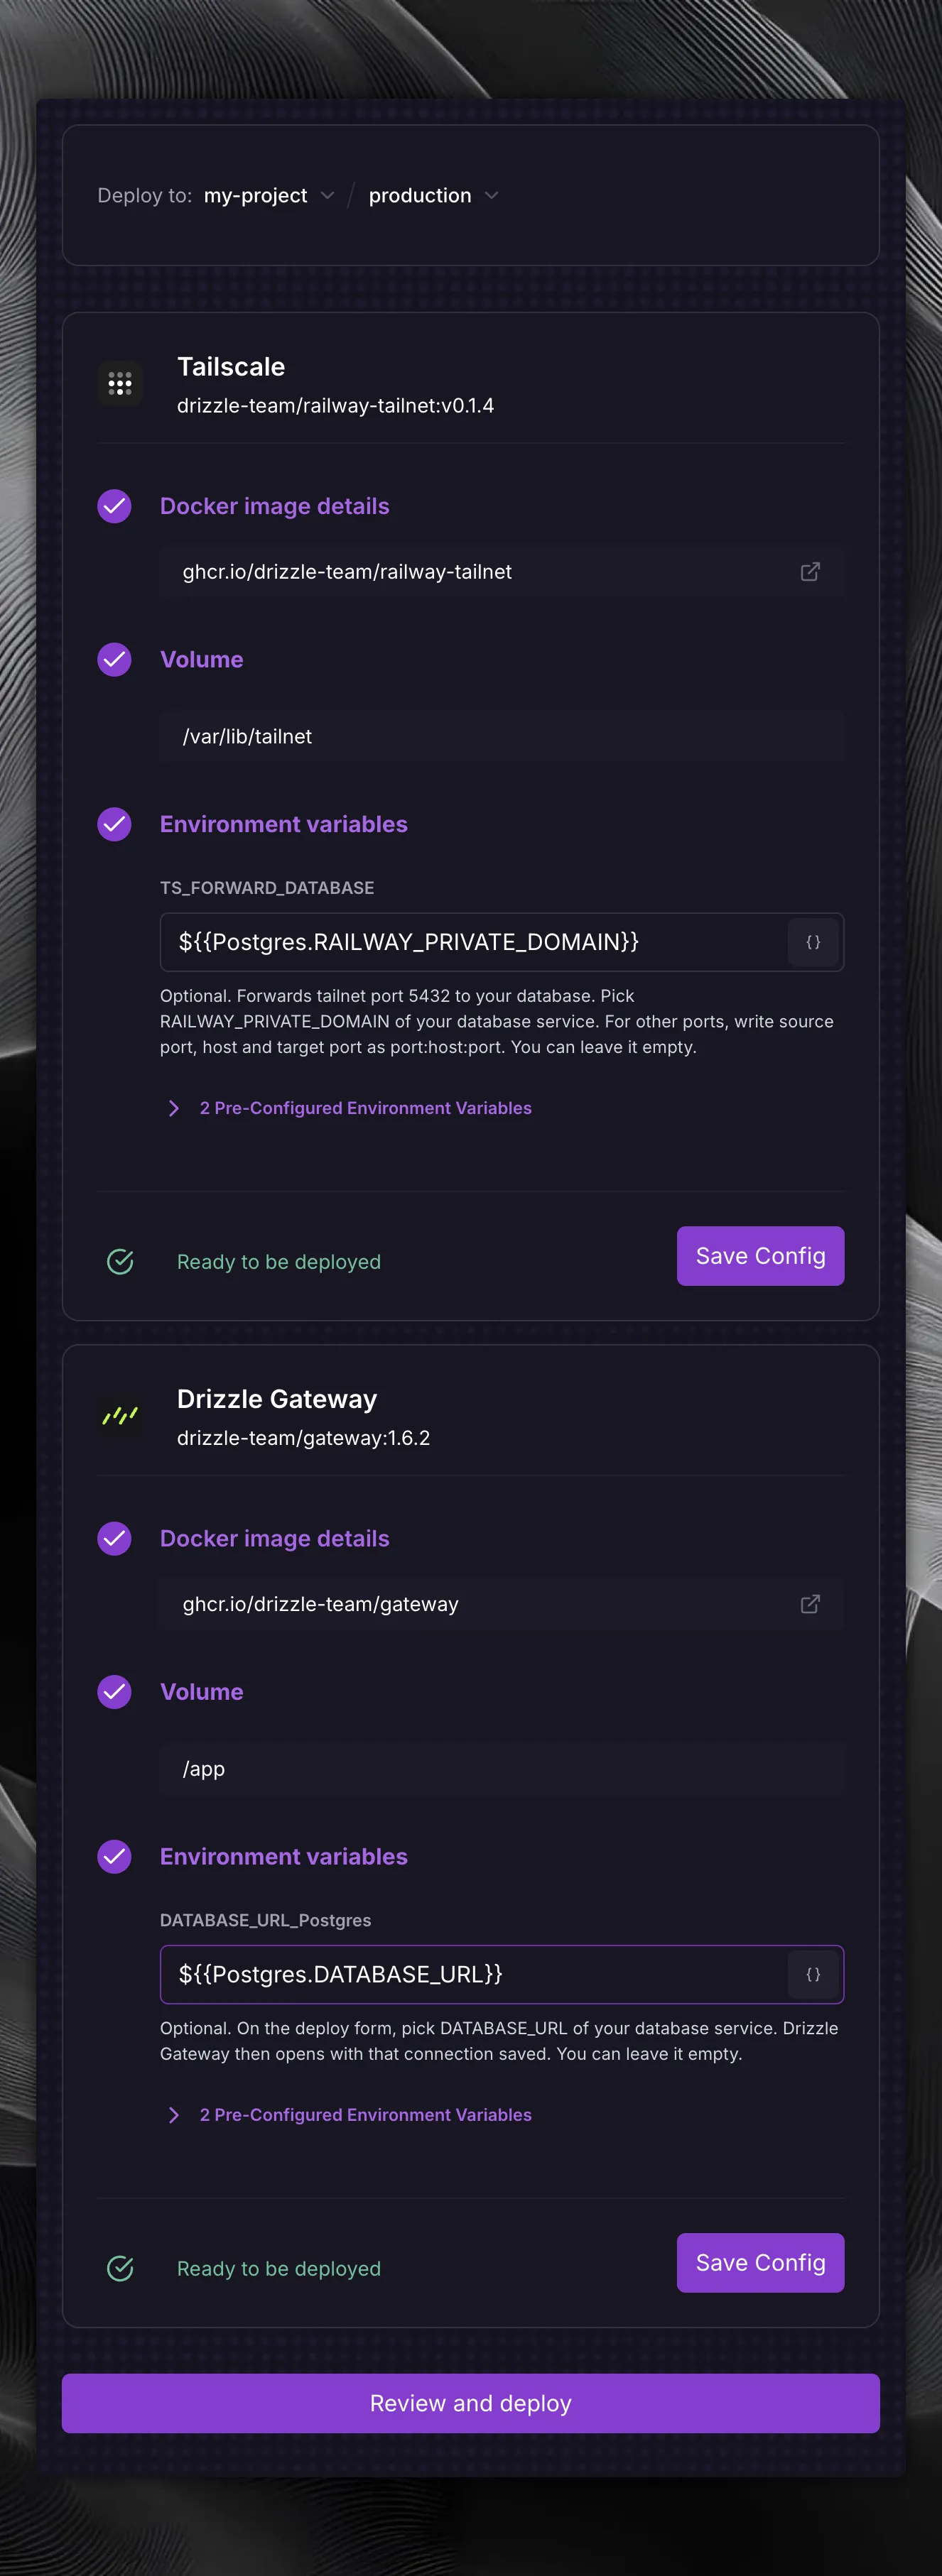
Open the Deploy to dropdown and select the project that holds your database.
Set the variables
| Variable | What to set |
|---|---|
DATABASE_URL | Required. The field is empty. Pick your database service from the list, then pick DATABASE_URL. For a service named Postgres the field then reads ${{Postgres.DATABASE_URL}}. |
PASSCODE | Leave the generated value, or type your own passcode |
TS_FORWARD_DATABASE | Optional. If you also want to reach the database itself from your tailnet, for example with drizzle-kit, pick RAILWAY_PRIVATE_DOMAIN of your database service from the list. Port 5432 on the machine then forwards to your database over Railway’s private network. You can also set it later on the Tailscale service’s Variables tab. |
TS_HOSTNAME | Leave drizzle-studio, or pick another name for the machine |
Some variables, such as TS_HOSTNAME, are in the collapsed Pre-Configured Environment Variables section of the card. Expand it to see or change them.
Deploy the template
On each service card, click Save Config. Then click Review and deploy. Railway opens your project with the template in a side panel. Click Deploy Template there.
Sign in from the deploy log
Open the Tailscale service, then its Deployments tab, and read the deploy log. The last lines of the log hold a sign-in link:
This service is not on your tailnet yet. Open this link and sign in
with the account that owns your tailnet:
  https://login.tailscale.com/a/xxxxxxxxxxxx
Open the link and sign in. Anyone who opens that link first gets this machine on their tailnet, so do not forward it. The log is visible only to members of your Railway project.

If your tailnet requires device approval, the log says so and the machine waits until you approve it on the Machines page.
Read the address from the deploy log
A few seconds after you sign in, the same log prints where to go:
joined tailnet: example.com
4983: ready
open https://drizzle-studio.example-com.ts.net from any device on your tailnet
Check that the tailnet name is yours. If it is not, someone else opened the sign-in link first, and their tailnet can now reach this service. To take the service back:
- On the project canvas, click the volume under the Tailscale service, open its
Settingstab, and clickWipe volume. - Type the confirmation text and click
Wipe. Railway deletes the machine’s key and redeploys the service. - Open the sign-in link from the new deploy log yourself.
- Change
PASSCODEon the Drizzle Studio service. If you setTS_FORWARD_DATABASE, also change the database user’s password.
If your tailnet already has a machine with that name, the machine name ends in -1, -2 and so on. Use the address the log prints.
If HTTPS certificates are off in your tailnet, the address starts with http:// and ends in :4983 instead. Tailscale encrypts the connection either way. To get the https:// address, enable HTTPS Certificates on the DNS page.
If you set TS_FORWARD_DATABASE, the log also prints 5432: ready.
Open Drizzle Studio
Open that address in your web browser. On the first https:// visit, the Tailscale service still fetches its certificate, so the page can fail or load slowly for about two minutes. If that happens, reload the page.
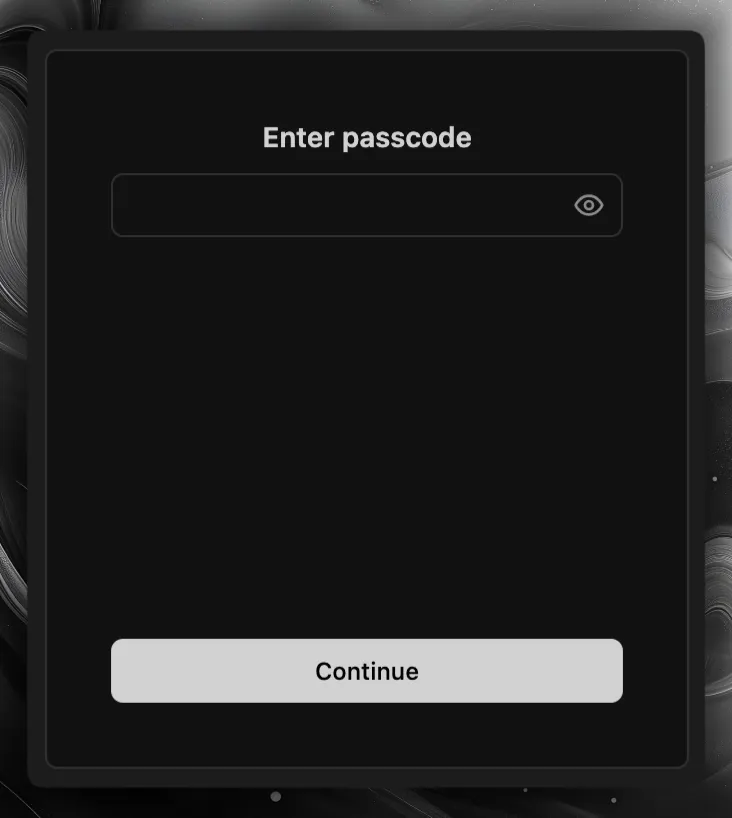
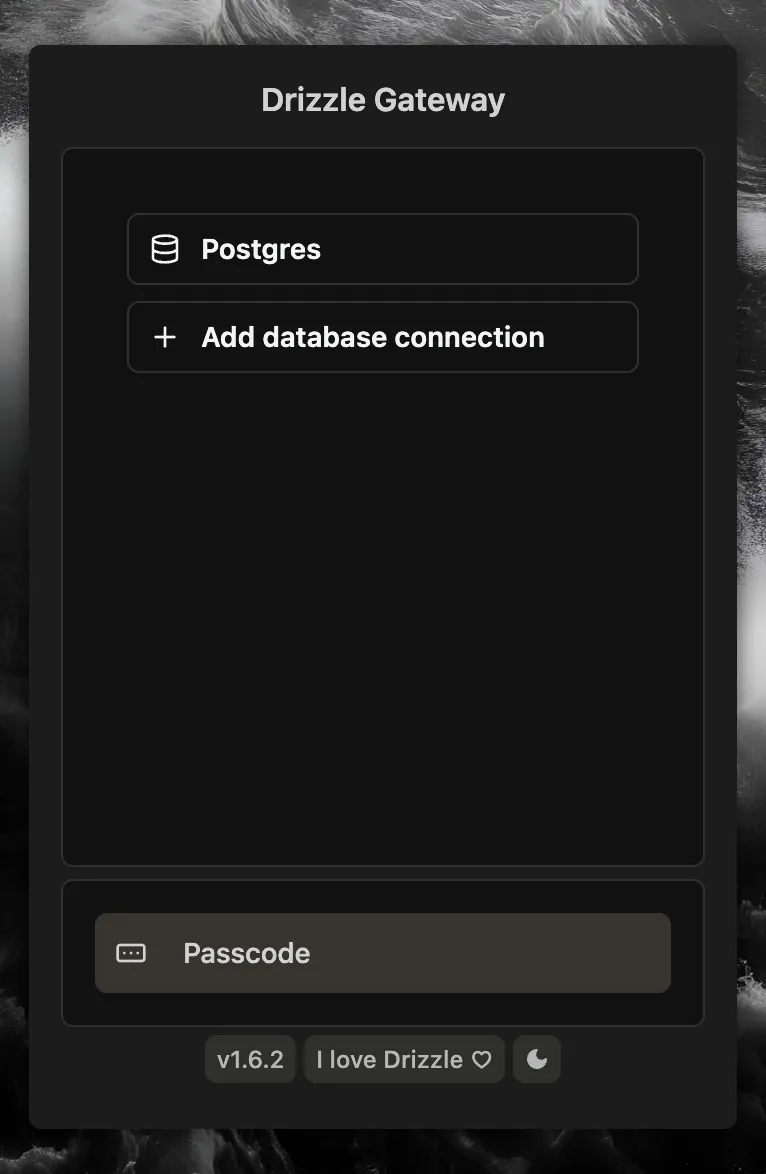
Drizzle Studio asks for a passcode on first use.
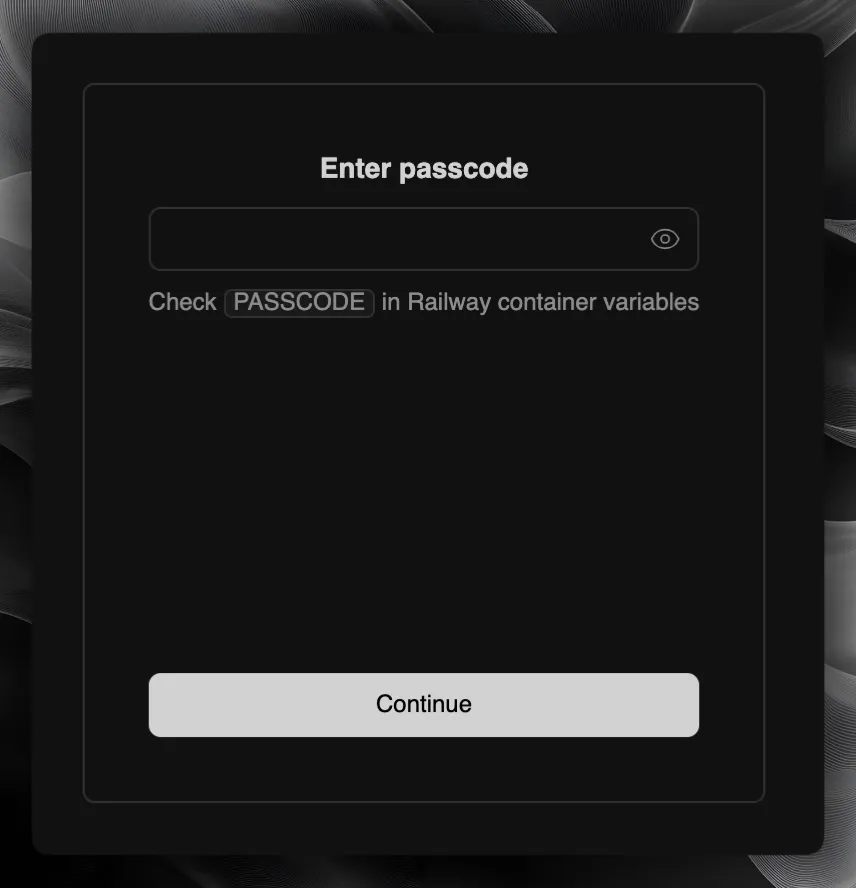
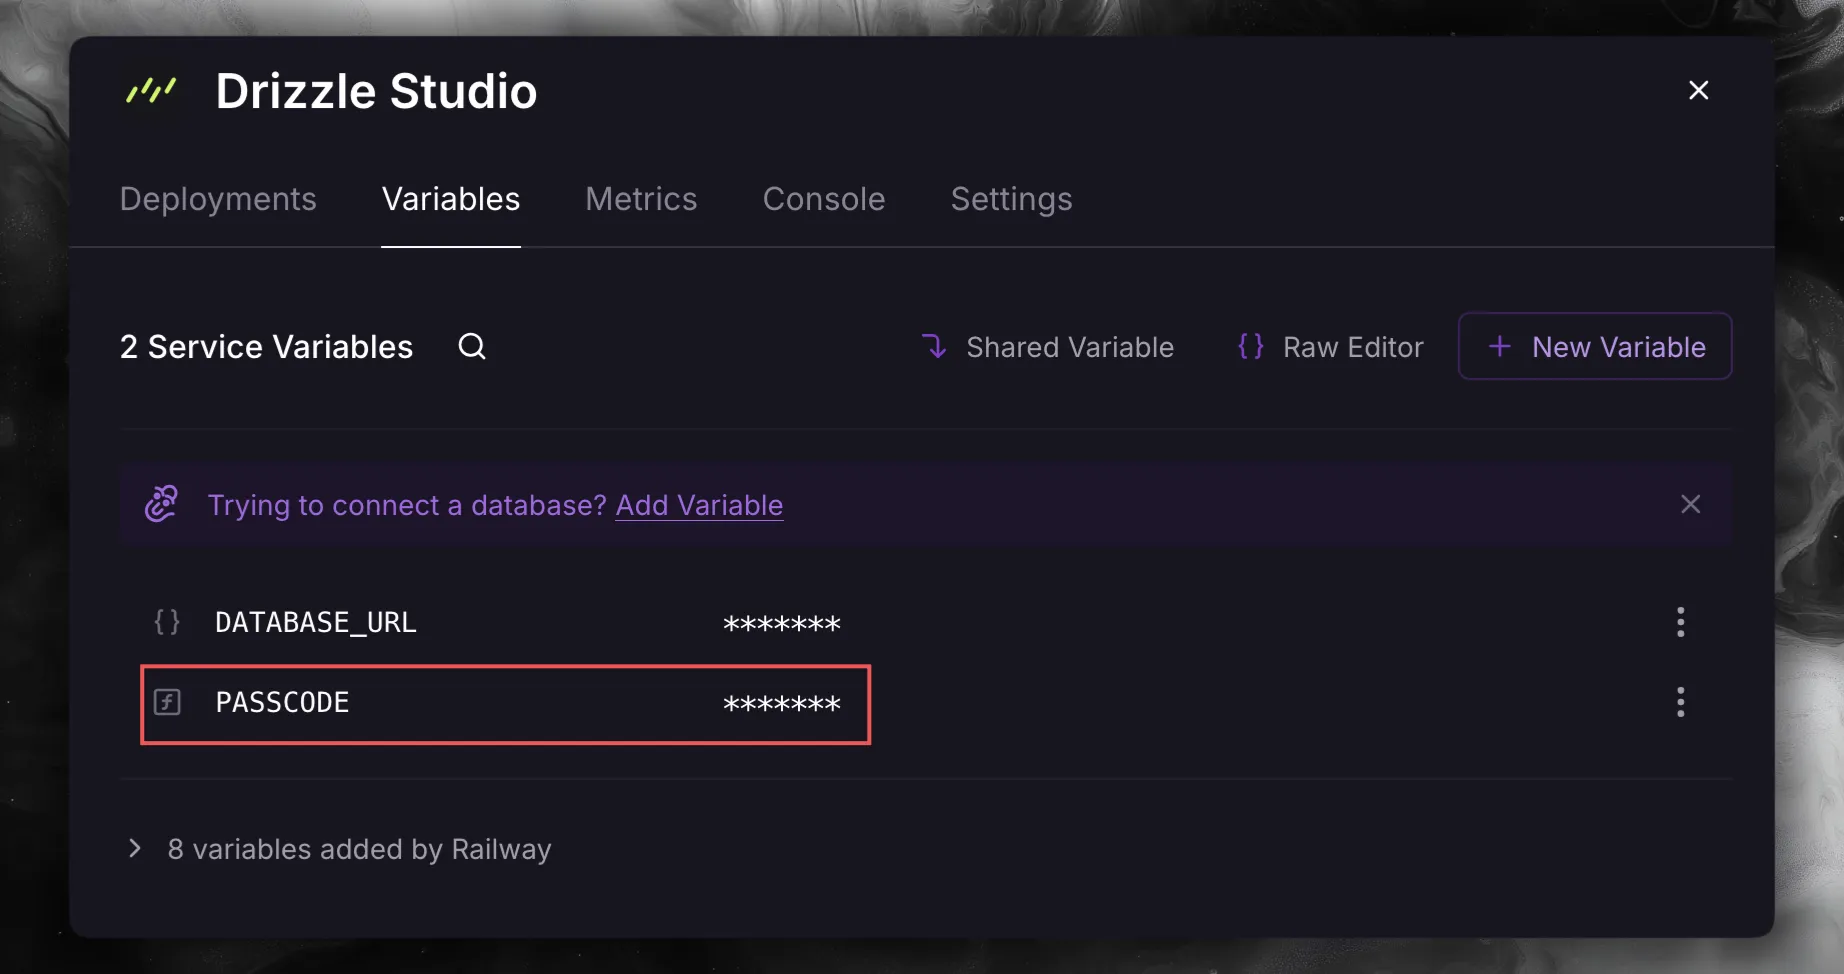
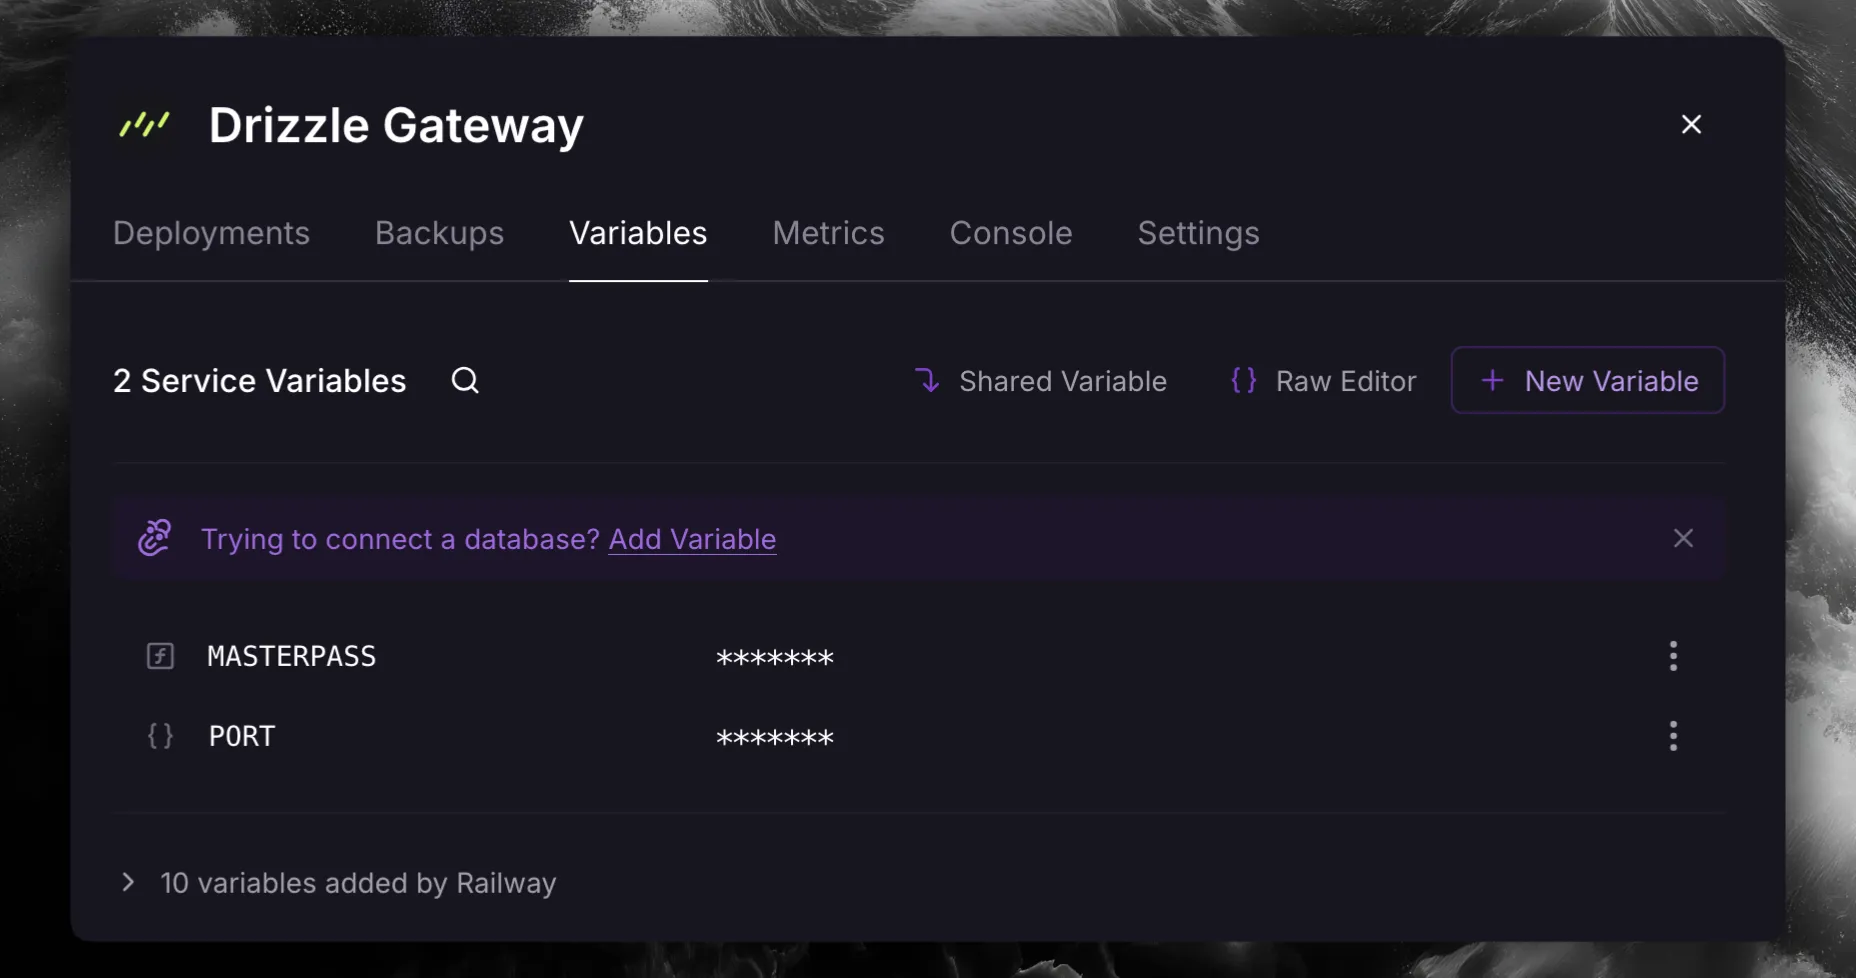
Open the Drizzle Studio service in Railway, go to the Variables tab, and copy the value of PASSCODE. Paste it into the prompt.
Check the connection
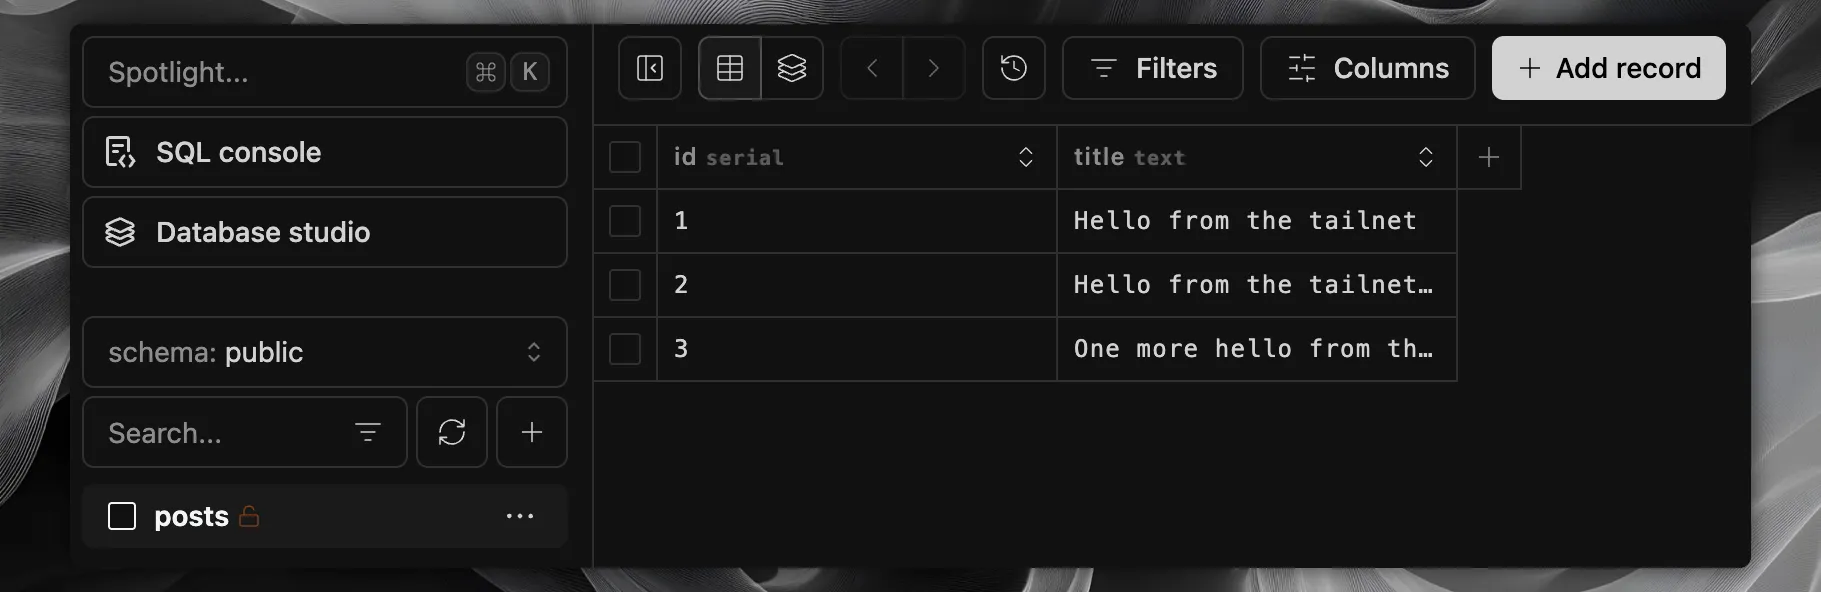
Drizzle Studio opens on the database from DATABASE_URL.
Use other ports
By default, TS_FORWARD_BROWSER uses port 4983 and TS_FORWARD_DATABASE uses port 5432, on the machine and on the service. To use other ports, write the value in the form [port:]host[:port]:
| Value | Port on the machine | Port on the service |
|---|---|---|
host | The default port | The default port |
host:port | port | port |
source_port:host:target_port | source_port | target_port |
For example, 5433:${{Postgres.RAILWAY_PRIVATE_DOMAIN}}:5432 forwards port 5433 on the machine to port 5432 of the database service.
If the port on the machine for TS_FORWARD_BROWSER is not 4983, an http:// address in the log ends in that port.
Disable key expiry
A machine that joined by signing in has its key expire on your tailnet’s schedule, 180 days by default. When that happens, the Tailscale service prints a new sign-in link and waits. The address is unreachable until you click it.
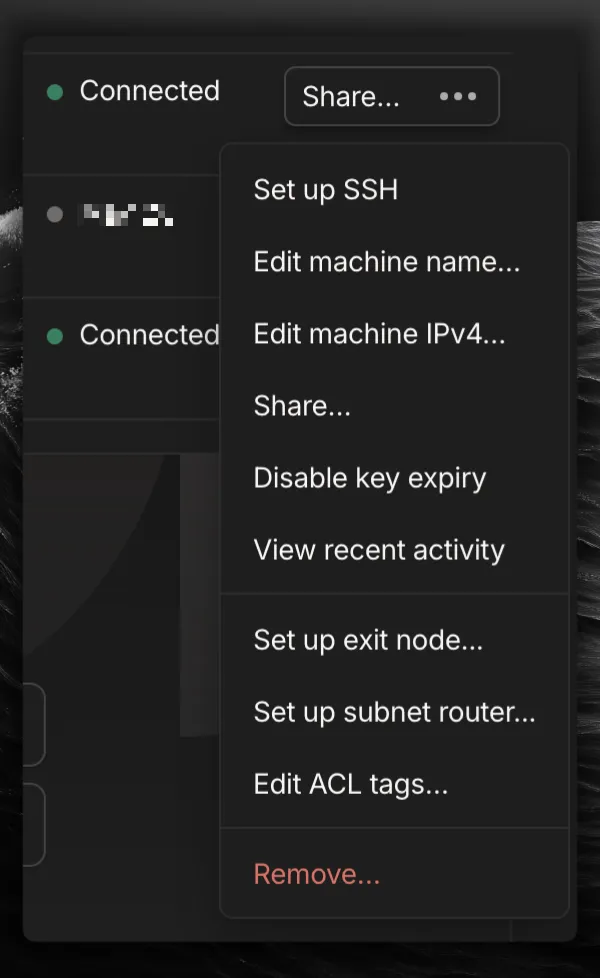
To avoid that, open the Machines page once, find the machine, open the menu at the far right of its row, and choose Disable key expiry.
If you automate deployments and want no sign-in at all, set TS_AUTHKEY on the Tailscale service:
- For an auth key, set
TS_AUTHKEYto the key. - For an OAuth client secret, set
TS_AUTHKEYto the secret with?ephemeral=false&preauthorized=trueappended. Without that suffix, Tailscale removes the machine when it disconnects, and the machine waits for approval before it joins. Also setTS_TAGSto a tag you own, for exampletag:drizzle. A tagged machine never has its key expire.
The Tailscale service reads TS_AUTHKEY only before the machine joins. If the machine has already joined, remove the machine and wipe the volume first.
Troubleshoot the Tailscale setup
Open the entry that matches what you see.
A new sign-in link appeared in the log
The service restarted, for example after the key expired or the machine was removed. Open the newest link. The link works once.
The log says the machine is waiting for approval
Your tailnet has device approval turned on. Open the Machines page and approve it.
Studio opens but shows no tables
A new database has no tables until you apply a schema. Follow Run Drizzle Kit against a private Railway database over Tailscale to create them. If your database already has tables, check DATABASE_URL on the Drizzle Studio service’s Variables tab. It can point at a service outside this project, or hold a connection string that does not match your database. Set it to ${{Postgres.DATABASE_URL}}, with your database service name in place of Postgres, and click Deploy.
The address does not open
Check these causes in order:
- Your device is signed in to another tailnet. Run
tailscale statuson your device and compare its tailnet with the one the log named. - The log printed an
http://address. Use that exact address with the port, becausehttps://works only when HTTPS certificates are on in your tailnet. - The Tailscale service is still fetching its certificate on the first
https://visit. Wait about two minutes and reload the page. - MagicDNS is off, so the address does not resolve. Enable MagicDNS on the DNS page.
It worked for months and then stopped
The machine’s key expired. Open the Tailscale service’s deploy log; it is printing a fresh sign-in link. Click it, then disable key expiry on the machine so it does not happen again.
The machine name gained a -1 suffix
Your tailnet already had a machine with this name, for example from an earlier deploy. Tailscale keeps the suffix. If you want the short name, rename the machine on the Machines page. Otherwise, use the address the log prints.
The log prints no open line
TS_FORWARD_BROWSER is empty, or the Tailscale service skipped it. A reference resolves to an empty value when it names a service that was not in the project when the template deployed. A skipped variable has its own line in the log, and the next entry explains that line. Open the Tailscale service’s Variables tab, set TS_FORWARD_BROWSER to ${{"Drizzle Gateway".RAILWAY_PRIVATE_DOMAIN}} (with "Drizzle Studio" for Studio), and click Deploy in the top bar.
The log prints a line that ends in skipped
The line starts with the variable name, then gives the reason:
does not match [port:]host[:port]: the value has more than two colons.has an empty target host: the value has a port but no host. A reference that names a service outside your project resolves to an empty host.still contains a Railway reference that did not resolve: Railway did not replace the reference. Check the service name inside it.has a port outside 1-65535: a port is not a number from 1 to 65535.reuses port: an earlier forward already uses that port on the machine.uses port 443, which the https listener owns: pick another port on the machine. The address of the database UI already uses 443 when HTTPS certificates are on.
Fix the value on the Tailscale service’s Variables tab and click Deploy in the top bar.
Next steps
- Run Drizzle Kit against a private Railway database over Tailscale to run migrations over your tailnet.
- Drizzle migrations fundamentals to choose how to apply schema changes.